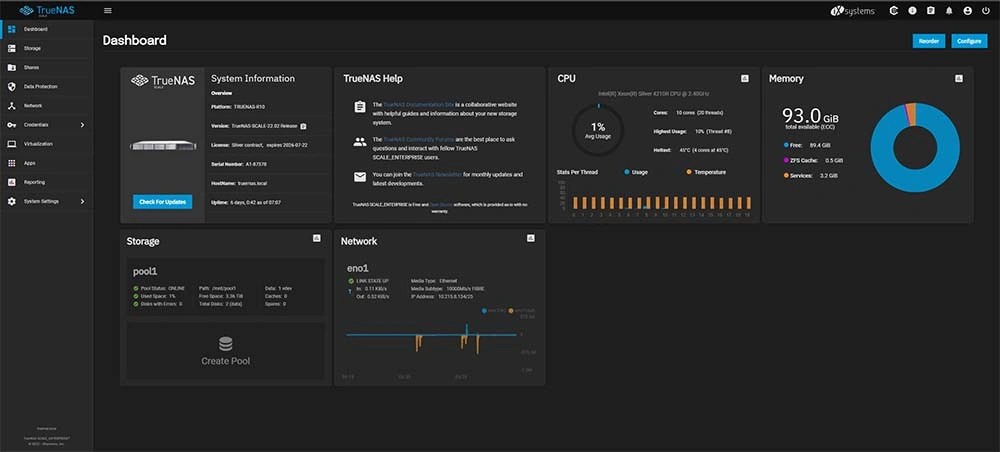
TrueNAS is a Network Attached Storage software you can deploy to your LAN or a third-party cloud host. But don’t be fooled by the “NAS” part of the name, as this platform can do much more than just storage. In fact, there are a number of other features that can be added to or used by TrueNAS, such as virtual machines and even containers.
That’s right, you can work with Docker images in TrueNAS and deploy apps like Colabora, Nextcloud, and more. Even better, it’s much easier than you might think.

I’m going to walk you through the steps required to get TrueNAS ready to work with Docker Images.
What You’ll Need
To work with Docker images and other apps, you’ll need TrueNAS up and running. You can deploy the platform as a virtual machine with VirtualBox, so long as you’ve enabled Nested VT-x/ADM-V support in the Processor tab of the System section in Settings for the VM.
Without that feature enabled, TrueNAS won’t be able to use virtual machines or Docker images. You’ll also need to have added at least two extra drives to the VirtualBox VM, in order to create a Pool for TrueNAS to use.
Adding New Drives to VirtualBox
This is actually easier than you might think because you don’t have to bother formatting the added drives (TrueNAS will take care of that for you).
To add a new drive to the VirtualBox VM, make sure the virtual machine is stopped (not paused). Select the VM from the VirtualBox left sidebar and click Settings. In the Storage section of the Settings window, select Controller: SATA and click the far right green + (Figure 1).

Figure 1: My VM is still running, so I can’t add the new drives.
The drive wizard will open. Make sure to create a drive with a fixed size, otherwise, it might cause problems with the pool (or TrueNAS won’t be able to successfully create the pool).
You must add two new drives to the VM, in order for TrueNAS to create the pool, so re-create the same steps. Once you’ve done this, close the settings and boot the VM.
Adding a Storage Pool
After logging into TrueNAS, click Storage and, when prompted, click Create Pool (Figure 2).

Figure 2: The Storage Dashboard needs a pool.
In the resulting window (Figure 3), click Suggest Layout and your newly added drives will show up in the right pane. Make sure to give the pool a name and then click Create.

Figure 3: Creating a new TrueNAS pool.
The pool should be created fairly quickly. Once it’s done, you’re ready to move on.
Add a New Catalog
By default, TrueNAS has a number of pre-defined apps to install. To install a different app, you must add a new catalog, which will include a list of available containerized applications that can be installed. To do this, click Apps and then click the Manage Catalogs tab (Figure 4).

Figure 4: The Manage Catalogs tab in the Applications window of TrueNAS.
Click Add Catalog and in the resulting popout (Figure 5), add the following:
- Catalog Name: truecharts
- Repository: https://github.com/truecharts/catalog

Figure 5: Adding a new catalog to TrueNAS, so more applications are available for installation.
Click Save to save the information. Because there are a lot of apps in this catalog, it will take some time for this process to complete (between 5-20 minutes, depending on your network speed). When the pull completes, click on the Apps tab again and you should see a considerable amount of containerized apps that can be deployed (Figure 6).

Figure 6: There are now many more apps available for installation.
Locate the app you want to add and click the associated Install button. Each of these applications is containerized, so when you click Install, you’ll find some of the configuration options (Figure 7) to be quite familiar (if you’ve worked with containers before).

Figure 7: Deploying the Focalboard app with TrueNAS.
Once you’ve gone through the entire configuration, scroll to the bottom and click Save. The container will deploy, based on the chart and your configurations. Once the deployment completes, you can access the app.
You can check the status of the deployment by clicking Installed Applications, where you should see the app listed as ACTIVE (Figure 8).

Figure 8: Focalboard successfully deployed.
Click Open and a new tab will open to the app you’ve installed. In the case of Focalboard, you’ll be taken to a login screen, where you can click to register a new account.
And that’s how you can deploy containerized applications using TrueNAS. With this easy-to-use system, you can use TrueNAS as a launching pad to deploy any number of applications to your LAN, from project management tools, cloud services, development tools, and more. All the while, you also have an outstanding network-attached storage solution available to you and your organization.
TRENDING STORIES
YOUTUBE.COM/THENEWSTACK
Tech moves fast, don't miss an episode. Subscribe to our YouTubechannel to stream all our podcasts, interviews, demos, and more.
